My Digital Camera Gear:
Camera gear does not make great photographs. The photographer's vision, voice and effort allow for great photographs to be created. The photographic gear I use is a personal decision, chosen only to be a tool, albeit specific in it's use in the creation of a photograph. I get no joy out of owning a particular piece of equipment beyond its ability to help me create. Joy is found within the creative process of photography.
The Camera I Use:
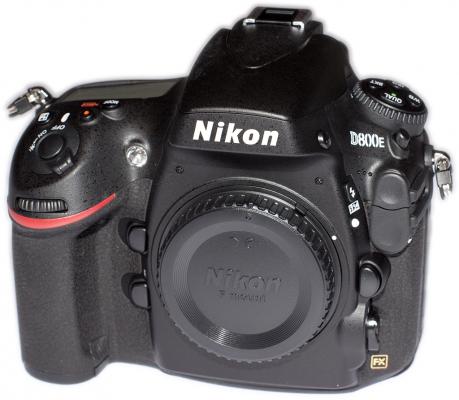
Nikon D800E: My recent entry into the digital full frame world was a giant leap from the micro 4/3 Panasonic Lumix I had been carrying. I was for the most part completely happy with the Lumix, sans a few weaknesses. The company became too consumer-level based and when they announced their latest release which touted WiFi connectivity I thought, oh how wonderful, not. What I needed was less noise above 6 second exposures. They also seemed to be dropping the Leica lenses. It was time to say goodbye to an otherwise excellent camera for my use.
I must admit that it was not an easy switch to using this camera. For me, a camera is simply a tool for capturing what the minds eye sees and the brain wishes to see in a final print. I didn't realize until the switch how accustomed i was to the Lumix. These days I wouldn't let go of the D800E for anything.
No need to describe the D800E here. I simply chose it for the 36 MP and the removal of the anti-aliasing filter.
Nikkor Lenses:
While I believe any modern camera body is capable of recording high quality digital images, I must admit I am somewhat of a "glass snob". Lenses are an investment. Camera bodies will come and go, but a Nikon lens will last generations. It is no coincidence that the lenses below represent some of Nikon's best optics. Time and opportunity are the scarcest of my resources. Superior optics make the best use of those resources.
Nikkor 70-200mm f4G ED VR: The majority of my photography has me either standing along flowing water or isolating some other abstract of nature. This is one of two lenses offers me everything I could want in a variable focal length. I did not need the faster speed of the f2.8, nor the weight or the cost of the Nikkor 70-200mm f/2.8G ED VR II.
Nikkor 24-70mm f2.8G ED: The perfect compliment to the 70-200mm ultimately became the Nikkor 24-70mm. I originally did not consider mid-range zooms because the 50mm lens would normally suffice. You simply walk closer or away from your subject to get the image in the viewfinder that you desire. Again, photographing along the banks along the creeks I photograph, moving forward or backward is not always a viable option. Hence the decision to use a midrange zoom lens.
Nikkor 16-35mm f4G ED VR: For me, this lens is a new adventure in visualization. What I want from this wide angle is those sweeping foregrounds that invite your eye into the photograph through the bottom of the image. From all I have read on this lens, it is at its best optically above 24mm and I assume I will use it in the 24-35mm range.
Nikkor 50mm f1.4D: I rarely hand hold a camera, but when I need to, this lens makes it all happen for me. It is super fast, super sharp, fast to focus and one of the least expensive lenses Nikon offers up. There is no reason to not carry one.
This lens is ideal for creating stitched panaramic phographs.
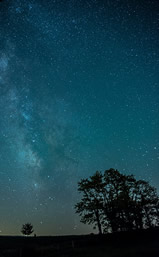
Nikkor 28mm 1.8G: The sole purpose for this lens is night sky photography. The fast 1.8 along with the wide angle of view of 28mm is what it takes to photograph celestial views. Using the 500 rule a shutter speed of 18 seconds is the maximum duration that you can use without the starts beginning to grow tails from trailing. An ISO of 2500 is an excellent starting point with the aperture wide open on this lens. It may also prove to be a good street lens if I ever get back up to NYC.
The basics are simple: A tripos is a requiremet.Wide angle lens is best. and it should be a fast lens such at this one at f1.8. I have found that the ISO 2000 meets my needs for an exposure time ynder 26 seconds and an f-stop of 2.8. I hate to shoot wise open at 1.8 but probably can, and any longer exsure time will produce start trails as the earth rotates.
Macro Work:
Nikkor 200mm F4Micro Ais: Nikon made a manual focus micro (macro) lens that would become the defacto lens for macro photography in the Nikon line. The beauty of this lens is that it is only available used, and as such, comes in at a very reasonable price point. The 200mm focal length allows for placing some distance between you and the subject which is required for lighting and proper perspective. Anything much shorter just leave you wanting the 200mm. The current Nikon 200mm Micro has autofocus which simply makes no sense at all.
Macro photography is one area where I just feel that flash makes everything so much easier. If you are photographing bugs (I don't) they move. Flowers in their natutral environment move. The slow shutter speed that would be required for maximum depth of field would leave your photos less than razor sharp. Everything I have read suggests that one of the best choices is the Nikon R1 Flash Sysytem for lighting macro work. This flash provides better (more powerful and better angele) light than the average ringlight flash.
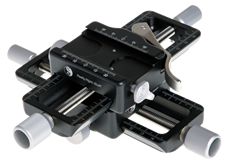
To facilitate image composition in the macro world I use Really Right Stuffs' Macro Focusing Rails. Focusing rails are a requirement if you use a tripod. The very slight movements required would be difficult to easily achieve if you do so by moving the tripod.
I also incorporate the Kenko/Vello Extension Tube Set for really close macro photography. The Vello Extension Tubes come in three lengths; 12mm, 20mm, and 36mm. I only carry the 12mm and the 20mm.
In the past I have used and still carry a B+W Diopter Close Focus +5 Diopter "filter or lens" but prefer the extension tubes as there is no additional glass for the light to have to go through.
Support System:
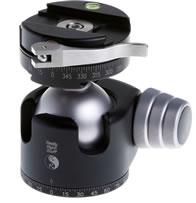
Maybe it is a belief carried over (no pun intended) from my large format days, but I believe one should use the best quality tripod that they can carry. The legs should extend to the point of having the camera at eye level without raising the center column. I carry the ABEO Plus 283AT (discontinued model) aluminum alloy tripod. I actually prefer the heavier tripod over its lighter carbon fiber sister. I am often photographing in windy environments and the extra weight, though a burden to carry, provides better stability. My camera is currently supported on top of the tripod using a Really Right Stuff BH-55 Ball Head along with L bracket for the camera and a lens collar and foot for the 70-200mm zoom. For me and my use, this head along with the camera bracket is second to none! I also use their Nodal slide for creating panoramas.

7 image panoramic created using image stitching in Photoshop.
Holy Redeemer Cemetery
Bel Air Road and Moravia Blvd
Baltimore, MD
My Photographic Accessories:
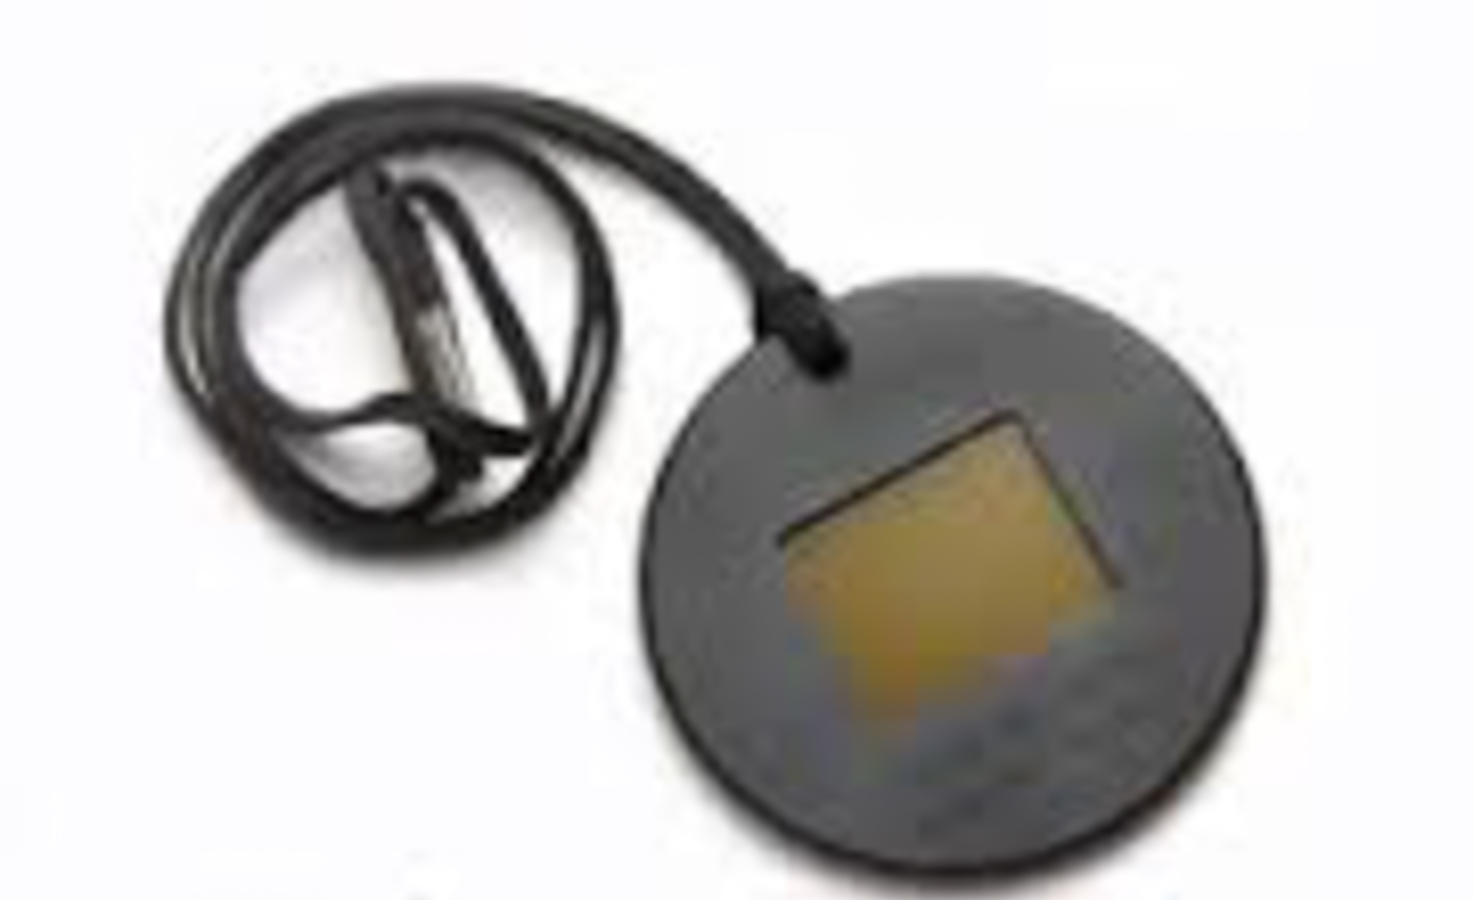
Zone VI Predictive B&W Viewing Filter: My most important photographic accessory for both digital and film is an old wratten 89 predictive viewing filter. It aids in the visualization process by neutralizing colors to look more like a black and white image. Zone VI made these years ago and I have purchased a few off of eBay, but have since started making my own.
Clear Glass Filters: I keep a B+W Clear Glass filter on my lens at all times when not using other filters. Digital cameras do not need a UV filter as they are built into the camera unlike their film counterparts. Photographers often question whether these or any filter placed in front of the lens for protective purposes or light control would do so at the cost of some degradation of the image. My testing proved that enlargements at the size I make, are not impacted by a protective or light controlling glass filter. However, that being said, I prefer the highest quality of filter available.
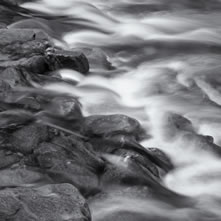
2 second exposure at f22
Neutral Density Filters (ND): I use a variety of solid ND filters to slow down the shutter speed in order to blur motion such as the ocean tide, streams, or moving clouds overhead.
The solid ND filters currently found in my camera bag range from 1 stop to 15 stop in exposure reduction:
B+W 1, 2, 3, and 4 stop ND Filters
Singh-Ray MOR-SLO 5 Stop and 15 Stop ND Filters
Singh-Ray Vari-N-Duo 5 Stop / Polarizer Combo
Gradient Neutral Density Filters: Gradient ND filters are used to darken an overly bright sky against a landscape that that requires more exposure. I find the reverse ND grads useful for sunsets and moon rises. I carry a selection of Cokin P style gradient ND filters made by Formatt called Hitech: These are held over the lens by a filter holder attached to a Xume magnetic filter ring.
Hitech NDSE 0.9 SE=Soft Edge
Hitech NDSE 1.2
Hitech NDHE 0.9 HE=Hard Edge
Hitech NDSE 1.2
Hitech Reverse ND Grad 0.9
Singh-Ray Darly Bensen Reverse ND Grad 2 and 3 stop
Polarizing Filters: Since I rarely shoot color I originally believed that I had little need for a polarizing filter. I have begun using a polarizer while shooting water. I carry with me a particular polarizer. I use a Singh-Ray LB Neutral Polarizing filter. The "LB" stands for lighter-brighter. This filter only decreases exposure by 1 1/3 stops which is 66% brighter than most polarizers. As mentioned under ND filters, I use a combination polarizer and variable ND filter, the Singh-Ray Vari-N-Duo.
A recent addition to my filter collection in the Singh-Ray Gold and Blue Polarizer. It allows for a little color injection when you have one of those lackluster days where not much good is being presented. I don't care to photograph all that much in color, but if you do, take a good look at this filter. There was no blue in the sky to be reflected, there was no evening gold either.

When spring has sprung and throughout summer I carry with me a Sing-Ray I-Ray Infrared Filter which produces digital images emulating B&W infrared film. I also carry 2 cheap Tiffen UV filters and a ChapStick to create soft diffusion filters.
In photographic situations that don't allow for a tripod I try and use a monopod. My choice is the the Oben ACM-2400L Self-Standing Monopod with Mini-Legs. The mini-legs allow for it to be self-standing when I can get away with it, otherwise it functions like any other monopod support.
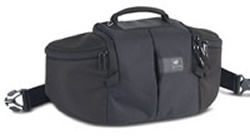
Since I travel so much I now use a Pelican hard-shell camera case for air travel and it works just fine in the back of my car. I find I rarely walk more than a mile from mile car when in the woods so the Kata Hands Free bag serves me well by carrying all my necessary items.
On longer hikes, my digital gear gets carried around in a Think Tank camera backpack. Since I mount my camera 99% of the time on a tripod I do not need to consider the inconvenience of pulling gear out of a backpack. If I were a street photographer, a backpack would never work for me as I'd want immediate access to my gear.
I had considered upgrading to PhotoBackpacker's backpack due to the increase in gear weight associated with the Nikon equipment but believe that working out of the Pelican case in the back of my car meets most of my needs.
Camera Bag Gadgetry:
One of my newest and favorite items is the Xume lens cap system. A magnetic ring screws into your filter ring and their opposing magnetic ring on your variety of filters, and in my case filter holders as well. This allows for the extremely fast changing of filters. I love them!
I carry 3 extra camera batteries, 2 cable releases one of which is a remote, lens tissue, a LED flashlight for painting light, a Ruggard rain cover, a compass, headlamp, and a few wilderness survival type accessories. I carry a PackTowel to wipe rain off my camera and a small spray bottle to create "dew" on flowers and a Moleskine pocket notebook.
There are two excellent websites for those researching camera gear. I highly recommend you check these sites out if you're looking into purchasing the camera gear that makes the most sense for your use and budget: KenRockwell.com and DPREVIEW.com.
